Posted by Alessandra on Thursday Jan 19, 2012
Filed under :Brazilian Recipes, Rice, Side Dish
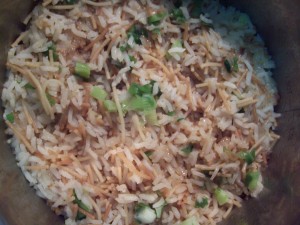
This rice takes me back to my childhood. To this day, it is one of the dishes my mom makes for me when we go visit. I love the aroma of the needles when they are toasting and the combinations with the rice is really good. Hope you like it.
1/2 cup of angel hair pasta (you want to break it into pieces)
1 c long grain white rice (you can substitute with other types of rice)
2 T minced onion
1 clove garlic, minced
2 T vegetable oil (I also like to use olive oil)
1 1/2 t salt 4 cups water (about)
Crunch the angel hair pasta. This it something the kids love to help with!
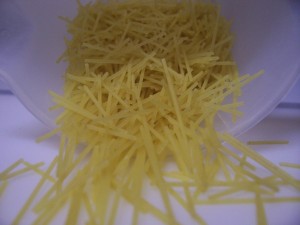
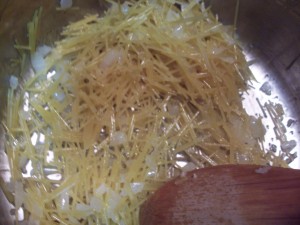
In a sauce pan, sautee the onions and garlic with the oil. Add the pasta and let it cook a bit. You can tell when it’s done when it is a toasty, dark brown color.
Add the rice and salt. Then pour water over rice mixture so the water level is 2 fingers higher than the rice (*do not stir the rice after adding the water)
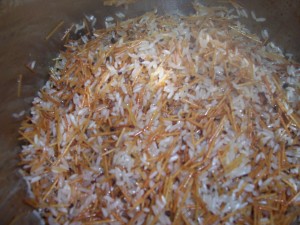
Cook until rice is soft. About 20-25 minutes. I like to serve it with chopped green onions on top. YUM
Posted by Alessandra on Wednesday Mar 9, 2011
Filed under :Main Dish, Vegetables
A healthy version of Spaghetti and very delicious!

Slice the squash in half, drizzle a little olive oil, salt and pepper. Bake at 350 for about 1 hour or until you can fluff it with the fork and it comes out looking like Spaghetti.
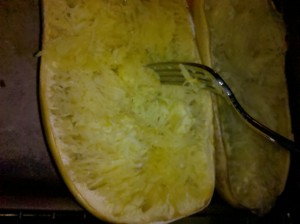
Top with your favorite sauce. I used red sauce. You can serve it on the squash itself. It is kind of cute that way! I added some fresh mozzarella slices on top.

YUM!
Posted by Alessandra on Wednesday Jan 19, 2011
Filed under :Brazilian Recipes, Rice
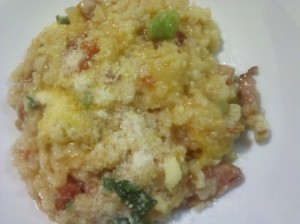
Arroz Carreteiro is a rice from southern brasil made with left over churrasco (BBQ) meat; usually beef and sausage. The tradition is to make with charque, a dried meat that doesn’t need refrigeration. This way wagoners could make this meal on the go in a heavy duty iron pan. The word “carreteiro” translates to “wagoner” or “cart rider”. For this recipe I only used sausage. I also used can tomatoes instead of fresh tomatoes. I choose the Rotel Diced with Green Chilies tomatoes and it gave a nice spicy taste to the rice! This recipe will feed at least 10 people. You can halve the recipe if you don’t need to feed a multitude 😀
1 medium onion (chopped)
4 clothes garlic (minced)
2 T oil
5 slices bacon (sliced thin)
16 oz linguica (kielbasa sausage- sliced thin)
2 cans diced tomatoes (usually I use fresh diced tomatoes, but the can works just as well)
1 T salt
1 T black pepper
1 t beef bouillon
2 c rice
5-8 cups water
1/4 c green onion
1/2 c Parmesan cheese (shredded)
Add oil, onion and garlic together in a large pan on medium high heat until onions are translucent. Add bacon, and sausage.
Cook until bacon is done.
Add the tomatoes (if using fresh make sure you take skin and seeds out. Use about 1 to 1/2 c of diced fresh tomatoes.) , salt and pepper, bouillon, rice. Simmer until rice gets a nice color.
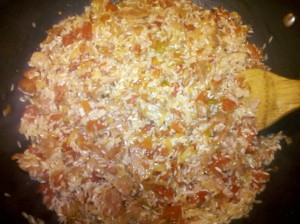
Add 5 cups water. Taste water for seasoning. If needed add more salt. Turn heat down to low. It will cook for about 1 hour.

You many need to add more water as it is cooking. Usually I say DO NOT STIR THE RICE, however for this recipe you will need to. I usually check the rice every 15-20 minutes, see if needs more water and stir it a little. You want the rice to be soupy like, but not too wet. Keep checking and adding the water (if needed) until the rice is soft.
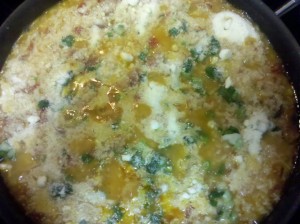
When rice is cooked add green onions and sprinkle Parmesan cheese on top. I like to serve some cheese on the side, so you can sprinkle on your own plate.
Posted by Alessandra on Friday Aug 27, 2010
Filed under :Brazilian Recipes, Side Dish
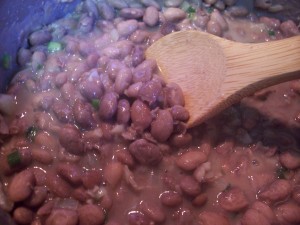
Brazilian Beans
2 cups beans (black, red or pinto beans)
4 cups water (or more)
1 medium size chopped onion
4-5 cloves of garlic
3 tablespoon olive oil
Salt and pepper
Green onions (optional)
Optional: cut bacon (or Canadian bacon) or 1 sliced Portuguese sausage
How to make it:
Cover beans with water in a pressure cooker, (water level should be about 2-3 inches above the beans). Close the pressure cooker and place at medium heat. It will take about 30-40 minutes to cook the beans after the pan is pressurized (steam starts blowing out). After the beans have cooked, let the pressure cooker cool completely before opening it to check if beans are soft enough. If they aren’t cook for longer. The whole process takes about 1 hour.
Note: ALWAYS wait for your pressure cooker to cool down before you open it!
If you don’t have a pressure cook, let the beans soak overnight and use a sauce pan to cook the beans. Same process, just cover them with water (about 2-3 inches above the beans). Cook until beans are soft.
Here is where the Brazilian part comes from….
In a sauce pan saute the garlic and onions with the oil. Add the boiled beans, salt, pepper and green onions. Let the beans cook until liquid gets thicker. It will take about 20-30 minutes. Taste for seasoning; if needed add more salt.
You could also add the bacon/sausage during this time.
If your sauce is not getting thicker, smash about 1/4 cup of the beans with a fork and mix it with the rest.
Posted by Alessandra on Wednesday Jul 14, 2010
Filed under :Appetizers, Rice

My friend Heather, from Savvy Sister Shops, asked me to do a guest spot on her fabulous site. I am honored that she thought of me, so I wanted something seriously delicious and economic for her readers. I love this recipe because many of the ingredients I used are products that you can get for an amazing price (even free) using coupons. I thought that would fit perfectly with Savvy Sister Shops website.
Head on over to Heather’s page for the recipe, and be sure to stick around for awhile – her tips are amazing!
Posted by Alessandra on Tuesday Jul 6, 2010
Filed under :Side Dish, Vegetables
Bok Choy, also known as Chinese Cabbage is a great vegetable to use for soup, stir-fry and other side dishes. Here is how I like to make it as a side dish.
1 T olive Oil
2 cloves of Garlic
2 Baby Bok Choy or 1 Bok Choy (for this recipe I used baby bok choy)
Slice the Bok Choy and rinse it well.
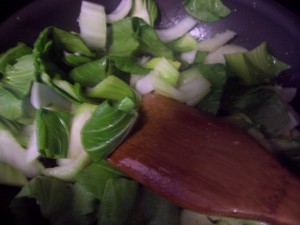
In a frying pan heat the oil, add chopped garlic and let it get some color. Then add cut Bok Choy. I like to add the stem cuts first and sear them for about 2 minutes before I add the leaves. Let is cook until it is nice and tender.
Posted by Alessandra on Monday Jun 14, 2010
Filed under :Salads, Side Dish
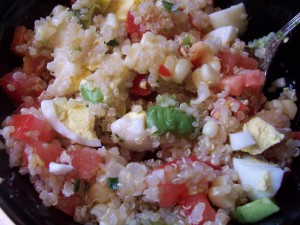
Quinoa is very healthy and I love the nutty like taste. It is nice to have Quinoa as a salad because you can use your imagination. This makes it easy to reuse leftovers or wherever is in the fridge to make it taste good For this particular one I had some tomatoes, red pepper and a boiled egg (left over from another meal), so I started to put those items together until it was beautiful and colorful.
For the Quinoa:
3/4 c of Quinoa
1 t Salt
1 t olive oil
In a small sauce pan heat the oil slightly, add the quinoa and salt. Then add about 2 cups of water. Let the quinoa cook (medium heat) for about 20 minutes, covered.
You can make this ahead of time and keep it in the fridge.
For the salad:
Cooked quinoa
2 ears of corn (just the kernels)- you can use canned corn
1 avocado (sliced)
1 boiled egg (diced)
1/4 red pepper (diced)
2 tomatoes (diced)
2 T green onions (cut)
Mix it all together. Then season it with Salt and Pepper to taste. You can also add a little bit of lime juice and olive oil for a different taste. My husband likes to eat this with a little bit of Italian dressing drizzled on top. I prefer without dressing and just a little squeeze of lime. I also like to serve it on top of a nice green lettuce.
It is refreshing and it tastes very good!
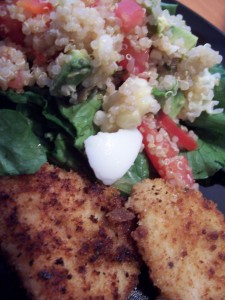
Pair this recipe with the Chicken Cutlets and you have a complete meal!
Posted by Alessandra on Monday Jun 7, 2010
Filed under :Appetizers, Vegetables
I love Artichoke and I wanted to experiment with different ways of cooking artichoke. I tried 5 ways. I liked them all, but I have to say my favorite was baking the artichoke. Here is a summery of my adventures with artichoke:
Basics: Before you start, make sure you trim the artichoke. Cut just a little bit of the top and trim the leaves a bit. Then wash it well under cold water. If you are going to use the artichoke as a serving dish you may also want to trim the bottom so it stands well. If you don’t need it to sit then go ahead and peel the outer side of the stem. The stem is a continuation of the artichoke heart so cook it and enjoy it.
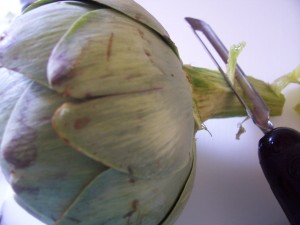
Boil: In a large sauce pan, bring water to boil. Add a little salt and add artichoke. Cover and boil it for about 45-50 minutes. It will be done when you can insert a knife in the bottom of the artichoke easily. If your artichoke is small, keep an eye on it. You don’t want to over cook it.
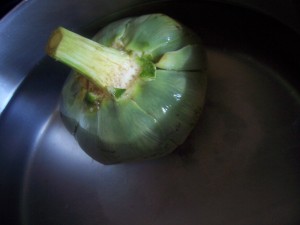
Steamed: Just like any other vegetable. Add a little bit of water to your pan, using a steamer, steam your artichoke until a knife can easily be inserted in the bottom of the artichoke.
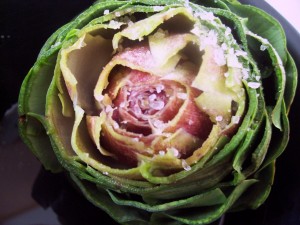
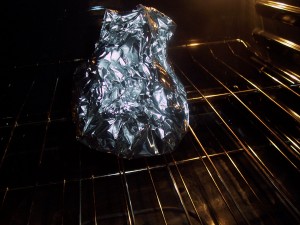
Baked: I separated the leaves a little bit and seasoned the artichoke with 1 t rock salt, 2 t garlic powder and a little drizzle of olive oil. Then I wrapped it in foil. I used 2 sheets of foil to make sure it was nice and closed. Bake in a 350 oven for about 1 hour. It is just like baking a potato. It will be done when a knife can go on the bottom of the artichoke with ease.
Microwaved : Using a microwave safe dish, microwave your artichoke for about 10 minutes on high.
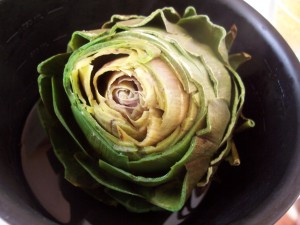
Grilled: Cut the artichoke length wise. Either steam or microwave it for a couple of minutes just to soften it a bit. Take out the choke (as you can see on the picture). The choke is the fuzzy part. Then season it (olive oil, salt and lemon juice) take it to your grill. Grill the artichoke (cut side down) until they get a good color and are nice and tender.
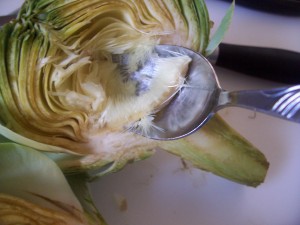
How to eat it: Now the best part right??? Serving an artichoke for company is very nice. It is healthy and it looks very fancy! To eat it, just pull the leaves out and scrape the bottom with your teeth.
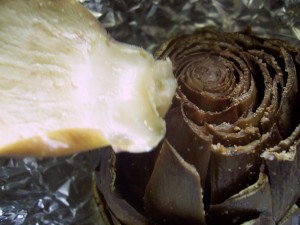
You can serve it in place of tortillas with your favorite dips, or you can serve it with melted butter. YUM!!! It is also delicious by itself. After you are done with the leaves, you will get to the artichoke heart. This is the middle of the artichoke. It is nice and soft. You usually see this part used in cooking. Just take the heart out and cut it into fourths. Then scrape the fussy part of the artichoke (called choke) and discard it. Now you can chop the rest and use in your favorite dish. I love to add it to pasta sauces, make a hot artichoke dip or just eat it by itself. It is so good!!!
Posted by Alessandra on Wednesday May 26, 2010
Filed under :Beef, Brazilian Recipes, Main Dish, Vegetables
1 lb Ground Beef
1 T Olive Oil
1/2 Onion diced
2 clothes Garlic (minced)
Salt and Pepper
1 cup cooked Rice (I used brown rice)
1/2 cup cooked Corn
1/4 c Shredded Parmesan Cheese (optional)
1 can diced Tomatoes
2 T Green Onions (cut)
Parmesan Cheese Shavings
4-6 Green Pepper (depends on the size)
Cut Peppers length wise, remove the seeds found on the inside. Wash it very well. Set them inside of a baking dish.
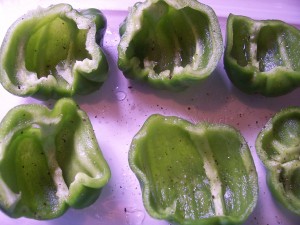
Season the peppers with a little salt and pepper. I like to open the tomato can and pour the juices on the bottom of the baking dish. Set aside.
Brown ground beef with onions, garlic and oil. Add salt and pepper to taste.
In a mixing bowl, rice, beef, corn, shredded Parmesan,tomatoes and green onions.
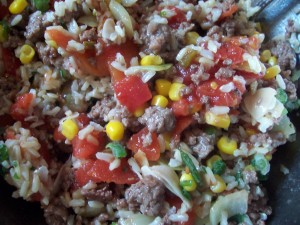
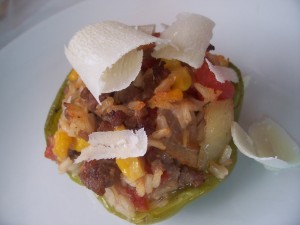
Fill each pepper with this mixture. Bake at 350 for about 30-40 minutes. Or until peppers looks cooked.

Top with Parmesan Shavings and enjoy!
Posted by Alessandra on Monday May 24, 2010
Filed under :Brazilian Recipes, Rice, Side Dish
Brazilians eat rice pretty much every day. I can say that rice is the most staple food of Brazil. I also love it because a basic recipe like the one I will post here can be turned into so many dishes. I like products like that because you can let your imagination run wild! If you keep checking back you will see I will come back to this basic recipe many times during my blog adventure. If you want to read more about rice, check out Wikipedia. They have some great facts on rice!
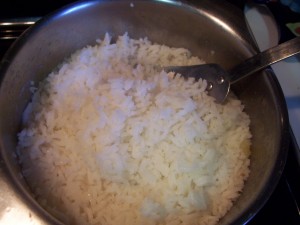
1 c long grain white rice (you can substitute with other type of rice)
2 T minced onion
1 clove garlic, minced
2 T vegetable oil (I use olive oil)
1 1/2 t salt
4 cups water (about)
Place the rice in a colander and rinse thoroughly with cold water; set aside. Heat the oil in a saucepan over medium heat. Cook the onion in the oil for one minute. Stir in the garlic and cook until the garlic is golden brown. Add the rice and salt and stir until the rice begins to get translucent.
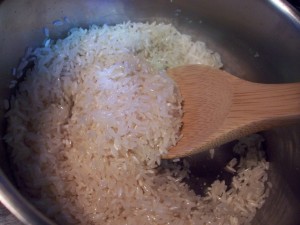
Pour water over rice mixture so the water level is 2 fingers higher than the rice (*do not stir the rice after adding the water)
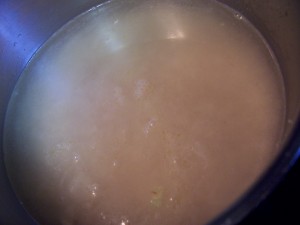
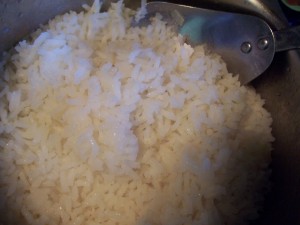
White Rice
Reduce heat to medium-low, cover the saucepan, and allow to simmer until the water has been fully absorbed, 20 to 25 minutes.
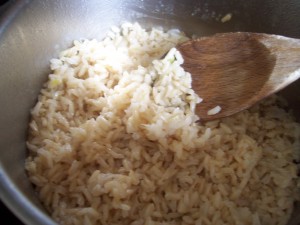
Brown Rice
If you are going to make brown rice make sure you let it cook for at least 45 minutes. You might need to add a little bit more water when the water starts to evaporate, but do not stir the rice! Just add a little water if the rice still hard. When the rice is almost soft you can turn off the heat, cover and let it sit for a while.
I really like brown rice. It is healthy and I love the nutty taste. It does take a little while to cook, but if you plan ahead you can make your rice, cook for the 30-45 minutes required then cover it and forget about it. It is easy and worth the wait!
You can also freeze the cooked rice (individual portions, or big portions). Like I said before, I love brown rice, but my husband doesn’t as much of it. So when I make white rice or brown rice, I will make a big batch and freeze individual portions of it. That way if I am serving rice I have his white rice ready and just need to make my brown. Or vice versa.
*if you stir the rice too mush, it won’t be nice and loose. It will form clumps together, which we in Brasil refer to as “arroz unidos venceremos” = “together we win” 🙂 I only like this type of sticky rice when making Japanese food, otherwise I like my rice nice and fluffy.


