Posted by Alessandra on Wednesday Apr 28, 2010
Filed under :Desserts
This is one of my favorite “easy-to-make-in-a-pinch” recipes. It tastes good fresh and even better the day after! It also freezes very well (up to a month) without the glaze. Enjoy!

Adapted from America’s Test Kitchen
2 sticks of unsalted butter
1 3/4 cups flour
1/2 teaspoon baking powder
1/2 teaspoon salt
1/4 cup sour cream
2 tablespoons lemon juice
1 cup granulated sugar plus 2 additional tablespoons
5 large eggs (room temperature)
Syrup
1/4 cup granulated sugar
1/4 cup lemon juice
Glaze
1/2 cup Confectioners’ sugar , sifted
1 tablespoon lemon juice
For the cake:
Grease and dust a bunt cake pan. Sift the flour, baking powder and salt. Set aside. Mix the sour cream and the lemon juice and set aside.
In a mixer, add butter and sugar. Mix it together until nice and fluffy. It will take about 3 minutes (it depends on the mixer). You may have to scrape down the sides of the bowl while it mixes. Slowly add the eggs, one at a time letting it mix very well. With the mixer on low, add 1/3 of the flour mixture, and 1/2 of the sour cream mixture. Repeat, ending with flour mixture.
Pour into prepared pan and bake at 325 for about 55 minutes. It might need some more time. To check, insert a tooth pick into the middle of the cake. If it comes out clean, it is done.
For the syrup:
Mix together the sugar and lemon juice in a sauce pan. Let it simmer until all the sugar dissolves and liquid is a little thick. It will be a thin syrup. When cake is done, let cake cool in the pan for about 10 minutes. Then poke small holes on the cake (with a fork or toothpick) and drizzle about half of the the syrup, turn the cake into a platter and do the same to the top of the cake.
For the glaze:
Whisk powder sugar and lemon juice until it is a thick (but runny) glaze. Sometimes I add just a little bit of water until it comes to the right consistency.
After the cake is nice and cooled to room temperature, drizzle the glaze on top and side of the cake.
This cake is even better the day after it is baked. It is a nice dessert to make ahead of time. I like to decorate it with some raspberries on top. It is a good combination!
Posted by Alessandra on Thursday Apr 22, 2010
Filed under :Brazilian Recipes, Fish
4 cloves of Garlic (sliced very thin)
1/2 Onion (diced)
1 T Olive Oil
1 T Sun Dried Tomato paste
4 Fillets of Cod
Salt and Pepper
1/4 cup Chardonnay (you can substitute chicken broth)
1 T Lemon Juice
1 (14.5 oz) can of diced Tomatoes
Basil (fresh or dried)
In a sauce pan, sautee onions and garlic in olive oil. Add sun dried tomato paste.
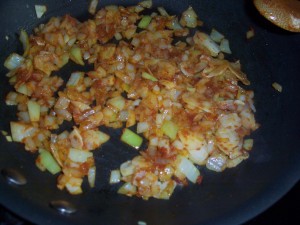
Add wine and lemon juice to onions. Salt and Pepper both sides of cod fillets. Lay fish on top of sautéed onions. Cook fish about 5 minutes in one side.

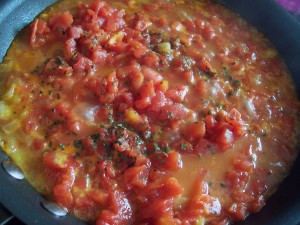
Turn fish and add diced tomatoes. Cover and let it cook for another 5-8 minutes or until fish it flaky.
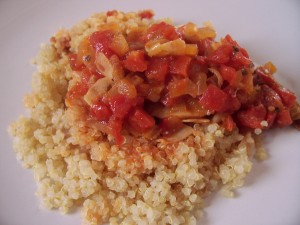
Sprinkle with fresh Basil. I like to serve this with Rice, or Quinoa. The sauce is very good, but not very thick. So you want something that will catch the sauce. (like rice, quinoa or bread). You can always take fish out of pan and thicken the sauce with 1 T of cornstarch dissolved in about 2 T water.
Posted by Alessandra on Wednesday Apr 14, 2010
Filed under :Brazilian Recipes, Main Dish
This is a favorite at our house. It is so easy to make and it looks like you spent hours making it. 😉
1.5 lb sliced ham (ask them to slice it thin)
1 lb sliced cheese (I like Swiss, but any cheese will work)
1 box angel hair pasta (cooked al dente)
1 T olive oil
salt and pepper
1/2 c shredded cheddar or parmesan
Spaghetti Sauce
Alfredo Sauce
Cook angel hair pasta as directed on the package. Just make sure cook it al dente. Drain the pasta and add the olive oil , salt, pepper and the 1/2 c shredded cheese.
Take one slice of ham, top with one slice of cheese and a little of the pasta.
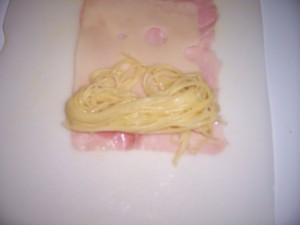
Roll it tight and cut the roll in half. Stand them cut side up and put them into a casserole dish that has been lined with a little bit of the spaghetti sauce (only 2 or 3 tablespoons)
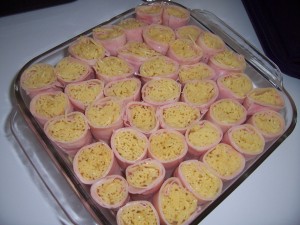
Keep making rolls until you fill your dish. Top with Spaghetti sauce and Alfredo sauce. Bake at 350 until it is nice and bubbly. About 30-45 minutes.
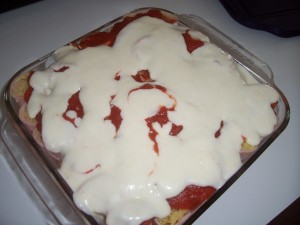
I usually have some ham and cheese left over. It all depends how thin the store will slice them for you. I ask them to slice it thin (both the ham and the cheese). They need to be thin enough to be able to roll well, but not too thin that they won’t hold the pasta inside.
Posted by Alessandra on Thursday Apr 8, 2010
Filed under :Brazilian Recipes, Breads
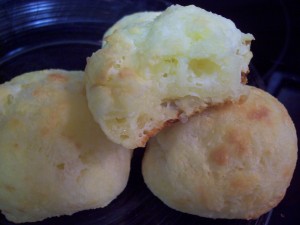
This is a traditional bread we make in Brazil. We use Polvilho to make it. Polvilho is basically tapioca flour/starch. You can purchase tapioca flour at the health food store in bulk. You can also find small bags at the grocery store in the health food aisle. Now all I have to do is try with different cheeses. This bread is very good warm. It is also yummy to cut it in half and make sandwiches or even add a little bit of butter! YUM 🙂 Enjoy!
1 cup whole milk
½ cup water
4 T. butter
1/4 cup oil
1 t salt
2 ¼ c tapioca flour
2 eggs
1 ½ cup shredded cheese*
¼ cup Parmesan
Boil milk, water, butter, oil and salt. Take off heat and add flour. Mix well. It will be clumped together.

Add eggs (one at a time) Mixing well after each egg. Add the 1 1/2 cups of cheese and the Parmesan cheese.
Let mixture cool a little bit. Roll into balls.
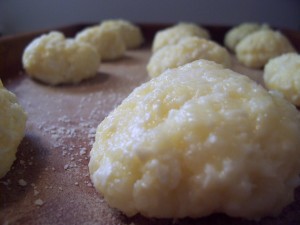
Spray a cookie sheet with oil or butter, and bake at 350 for about 30 minutes or until golden on top.

*I used a white cheese called queso panela (pan cheese)- I bought it at Sams. It will also taste very good with a Cheddar, Colby or even all Parmesan. I do like to mix the cheeses. I also used a Spanish cheese called Cotija, instead of the queso panela. It was good.
Another thing I noticed is that depending on the tapioca flour you use, you may need to add a lot more flour to get to the correct consistency. I have a reader say they added an extra 1 cup of flour. I bet this has to do with the temperature, altitude and flour consistency. Let me know if you have questions.
Posted by Alessandra on Wednesday Apr 7, 2010
Filed under :Appetizers, Breads

I love leftovers. One of the main reasons why I love them so much is because I can go back and recreate! This recipe is an example of that. I had a little bit of puff pastry left and what do you do with that? Definitely not throw it away… so here it is! Twisted Bread Sticks, yum!
Puff Pastry (they are so good you may use the whole sheet) 😉 For this recipe I had about 1/4 of a sheet of puff pastry
2 t garlic powder
2 T Parmesan cheese (or any other cheese of your liking)
Spread half of garlic and half Parmesan in one side of pastry, press the mixture with your fingers. Turn pastry over and repeat. Cut into strips. I used a pastry cutter.
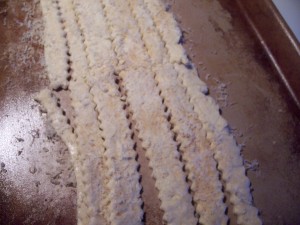
Now twist them gently.
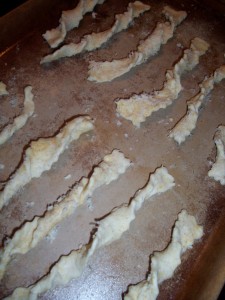
Bake at 350 for about 20 minutes or until they are nice and golden!
Posted by Alessandra on Monday Apr 5, 2010
Filed under :Uncategorized
Last Tuesday, the Tast of Home Cooking School came to Provo. It was a fun show! I got to help out in the back with the kitchen preparations! Wow, I never knew how much work it takes to get it all set up!
There were 10 recipes we had to prep for the show. We had 4 wonderful helpers back in the kitchen for the prep time and in the evening (during the show) there were 5 of us plus the chef!
The recipes were amazing! Here are some fun pictures of the backstage “action”!
Each one of us was put in charge of a few recipes to prep before the show. This picture shows the Gram’s Chicken Pot Pie being prepared.
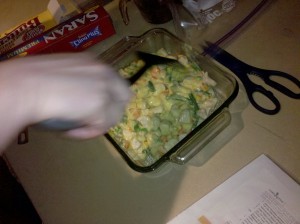
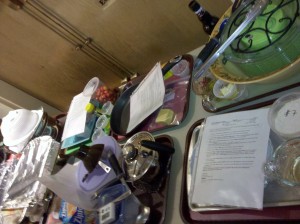
Each recipe had a tray with all the ingredients and cookware that were necessary to use during the show. Here is a picture of some of the trays:
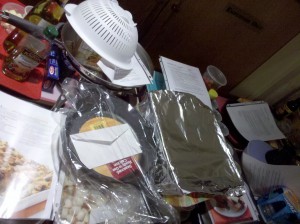
You can see that in some trays there are gifts ! Fun huh, those are gifts that were given out during the preparation of that recipe! It really is a fun show!!!
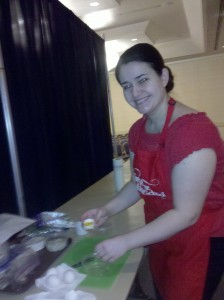
That is me, separating eggs!
This was at night, during the show! Cooking in the background.
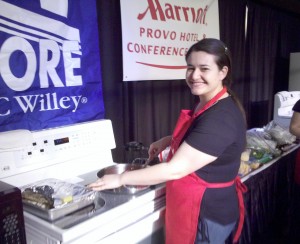
We were very busy during the show and I forgot to take pictues of the finished dishes….ops! But don’t worry I will prepare each one of them and post pictures here just after their Spring show season is out! There are some delicious dishes!!! Yum Yum. If you have a chance to attend one of the Taste of Home Cooking School go for it. They are a lot of fun!
Here is the cart FULL of groceries, how much do you think the Savvyshopper Amy paid for all of them?????

The products were worth $286.00 and the total price after coupons was : $8.36. WOW!!! I know, you can do that too. I love using coupons. Contact me and I will teach you how to use coupons, save money and have fun!
Posted by Alessandra on Friday Apr 2, 2010
Filed under :Brazilian Recipes, Desserts
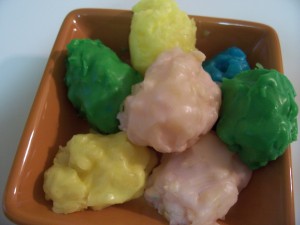
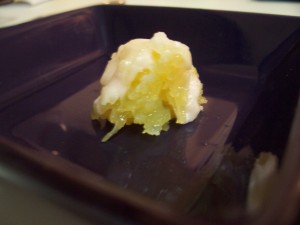
I thought this would be a fun treat for Easter. Just in case there are some of you that don’t eat chocolate… This is what you will need:
1 can of Pineapple (you can use it fresh, however if you use coupons like me you should have a storage of canned pineapple that you got for very cheap and/or FREE with coupons!)

1/2 C Sugar
1 1/2 C shredded Coconut
Poured Fondant Frosting (recipe to follow)
Open pineapple can and drain at least half of the liquid. Quickly blend the pineapple. I used my magic bullet ! A very quick pulse, you still want to have a little bit of pineapple chunks.
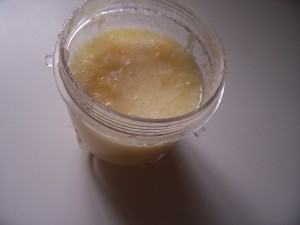
In a sauce pan, add pineapple and sugar. Bring it to a boil, stir consistently and let it cook until most of the water has evaporated. (About 5-7 minutes)

Then add the coconut.
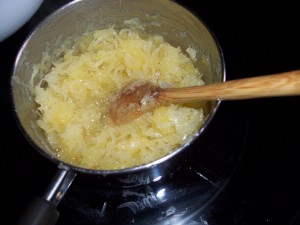
Cook, stirring well for about 8-10 minutes or until the mixture starts to come together.
Transfer it to a plate and make your shapes (I usually make little balls, but since it is Easter I made more of an egg looking shape)
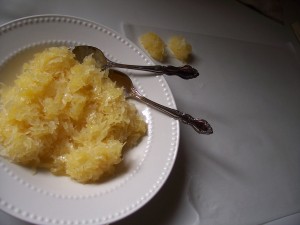
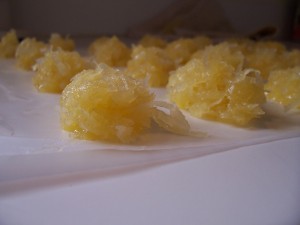
Now let them stay there for a while until they cool and hold their shape. You can freeze them if you would like.
Transfer them to a non stick cooling rack. Make sure to use wax paper or some other type of paper under the rack to catch all the frosting. Cover the candies with the following mixture:
Poured Fondant Frosting: (make one recipe for each color you want to use)
1/2 c Powder Sugar
1T water
Food coloring
Mix well. It will be runny. You can add more sugar or more water to come to your desired consistency.

Let them sit and dry! Enjoy 😀
