Posted by Alessandra on Saturday Nov 4, 2017
Filed under :Breads, Desserts, Other
These are delicious. The dough is a bit time consuming, but easy to make. Think of a mix of a brioche dough and a buttery waffle dough and you got it right! YUM

Liege Belgian Waffles:
4 1/2-5 c flour
1 1/2 T instant dry yeast (if using active make a sponge first)
2 T honey
pinch of salt
1/4 c hot water
3/4 c hot milk
2 eggs
2 t baunilla
2 sticks of butter (room temperature)
1 cup Belgian pearl sugar (I like the larger sized ones-see picture)
You can do this by hand, but I suggest using a mixer with the dough hook.
Add 4 cups of flour (reserve 1 cup for later), yeast, honey, salt, water, milk and mix until combined. Then add eggs, baunilla and if needed another 1/2 c of flour. Mix for about 5 minutes. You want a soft, wet bread dough texture. After all combined add butter 1 tablespoon at a time until it mixes all with the dough and if needed the rest of the flour. You may need to add even more flour, but don’t go crazy or it will be too hard of a dough. The final dough will be a wet, soft bread dough texture. The butter will give a nice shine to the dough. Just like brioche. Cover it and let it sit room temperature for 2 hours.
After the 2 hours, punch the dough to release some air. Then let it sit again overnight in the fridge.
The next day, bring dough to room temperature and add the pearl sugar (very important step). Mix in the sugar gently, folding the dough into the sugar. It is a lot of sugar. Cut into ball sizes (about 12-14 depending on the size you want)
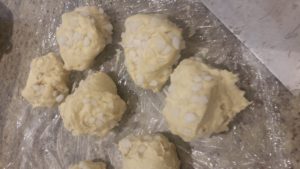
Let is sit for another 15 minutes and the cook it on your waffle iron.

Make sure you use a Belgian waffle iron. It is a bit deeper than the normal waffle iron and that will help so the waffles aren’t too hard.

There are many ways to serve it. You can eat it just like it is, or spread some biscoff, nutella or a combination of both. It is also delicious with fresh fruit and cream!
Enjoy!
Posted by Alessandra on Sunday Sep 24, 2017
Filed under :Desserts
I love fresh peaches! But a good peach pie is also fun to make and the family enjoys it quite a bit! This pie crust is flaky and tasty. It will for sure be a hit at your next pie making experience!

• 3 pounds peaches, sliced
• 3/4 cup sugar
• 2 tablespoons fresh lemon juice
• 3/4 teaspoon ground cinnamon
• 2 tablespoons flour
• 3 cups all-purpose flour
• 3/4 teaspoon salt
• 1/2 cup vegetable shortening
• 1 stick plus 1 tbsp chilled butter, cut into pieces
• 1/3 to 1/2 cup ice water
. 1 beaten egg
• 1 tbsp sugar
Directions:
1. In a large bowl, combine the peaches, sugar, lemon juice, and cinnamon. Stir in 2 tbsp flour to help absorb juices. Let stand, stirring occasionally.
2. Preheat the oven to 400°. In a large bowl, mix the flour and salt. Using a pastry blender, work in the shortening and 1 stick of butter until the mixture resembles coarse crumbs. Sprinkle 1 tbsp of the ice water over the flour mixture, stirring gently with a fork. Continue adding the water just until the dough holds together. Don`t mix it too much or it won’t be as flaky. Shape the dough into a ball and divide it into two discs, one slightly larger than the other.
3. Place the smaller disc on a sheet of waxed paper, and use a lightly floured rolling pin to roll the dough into a 12-inch circle. If the dough sticks to the rolling pin, dust it lightly with more flour. Lay a 9- to 10-inch pie pan face-down on top of the circle; flip the pan over and remove the paper. For the top crust, on a sheet of waxed paper roll out the other disc to form a 14-inch circle. Do not roll the dough more than necessary.
4. Add the peach filling, and dot with 1 tablespoon butter.

Lift the waxed paper with the remaining crust and flip it over the filling. Peel back waxed paper. Trim the edges of the crusts and pinch together the top and bottom crusts. Brush the pie with the egg Sprinkle with sugar. Poke fork holes or cut vents in the top crust. Bake 40 to 45 minutes, or until golden brown. Serve warm.
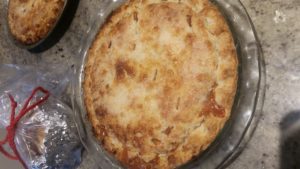
Enjoy!

Posted by Alessandra on Sunday Sep 24, 2017
Filed under :Breads
Here is a quick tip to use that older looking bread you have in the house. Cut the bread into small squares and toast it at 350 until crunchy (croutons texture)

Pour it in a food processor and ta-da, bread crumbs! No waste! I like to do this and freeze into bags for later use. A couple more tips:
. Use whole wheat bread
. Season it with garlic, parsley and a touch of lemon zest
. Season it with Basil and garlic for an Italian twist
. Season it with red pepper flakes or powder for a spicy crumb.
There are many variations and possibilities for all your crumbling needs 🙂

Posted by Alessandra on Sunday Sep 13, 2015
Filed under :Brazilian Recipes, Desserts

3 cups sugar
1 1/4 cup groselha
1/2 cup corn syrup
2 cups water
1 t vinegar
Red food coloring (optional)
Mix sugar, groselha, and water in saucepan. Boil mixture until reaches hard crack (300ºF), then immediately add red food coloring and vinegar ,stir. (be careful, this is very hot)
While your mixture is boiling,wash and dry your apples, and spear with the sticks.
When liquid is ready, quickly dip the apples, twisting to cover, and set on a greased cookie sheet.
ps: You can also skewer some grapes and dip them in the syrup.
Posted by Alessandra on Wednesday May 20, 2015
Filed under :Uncategorized
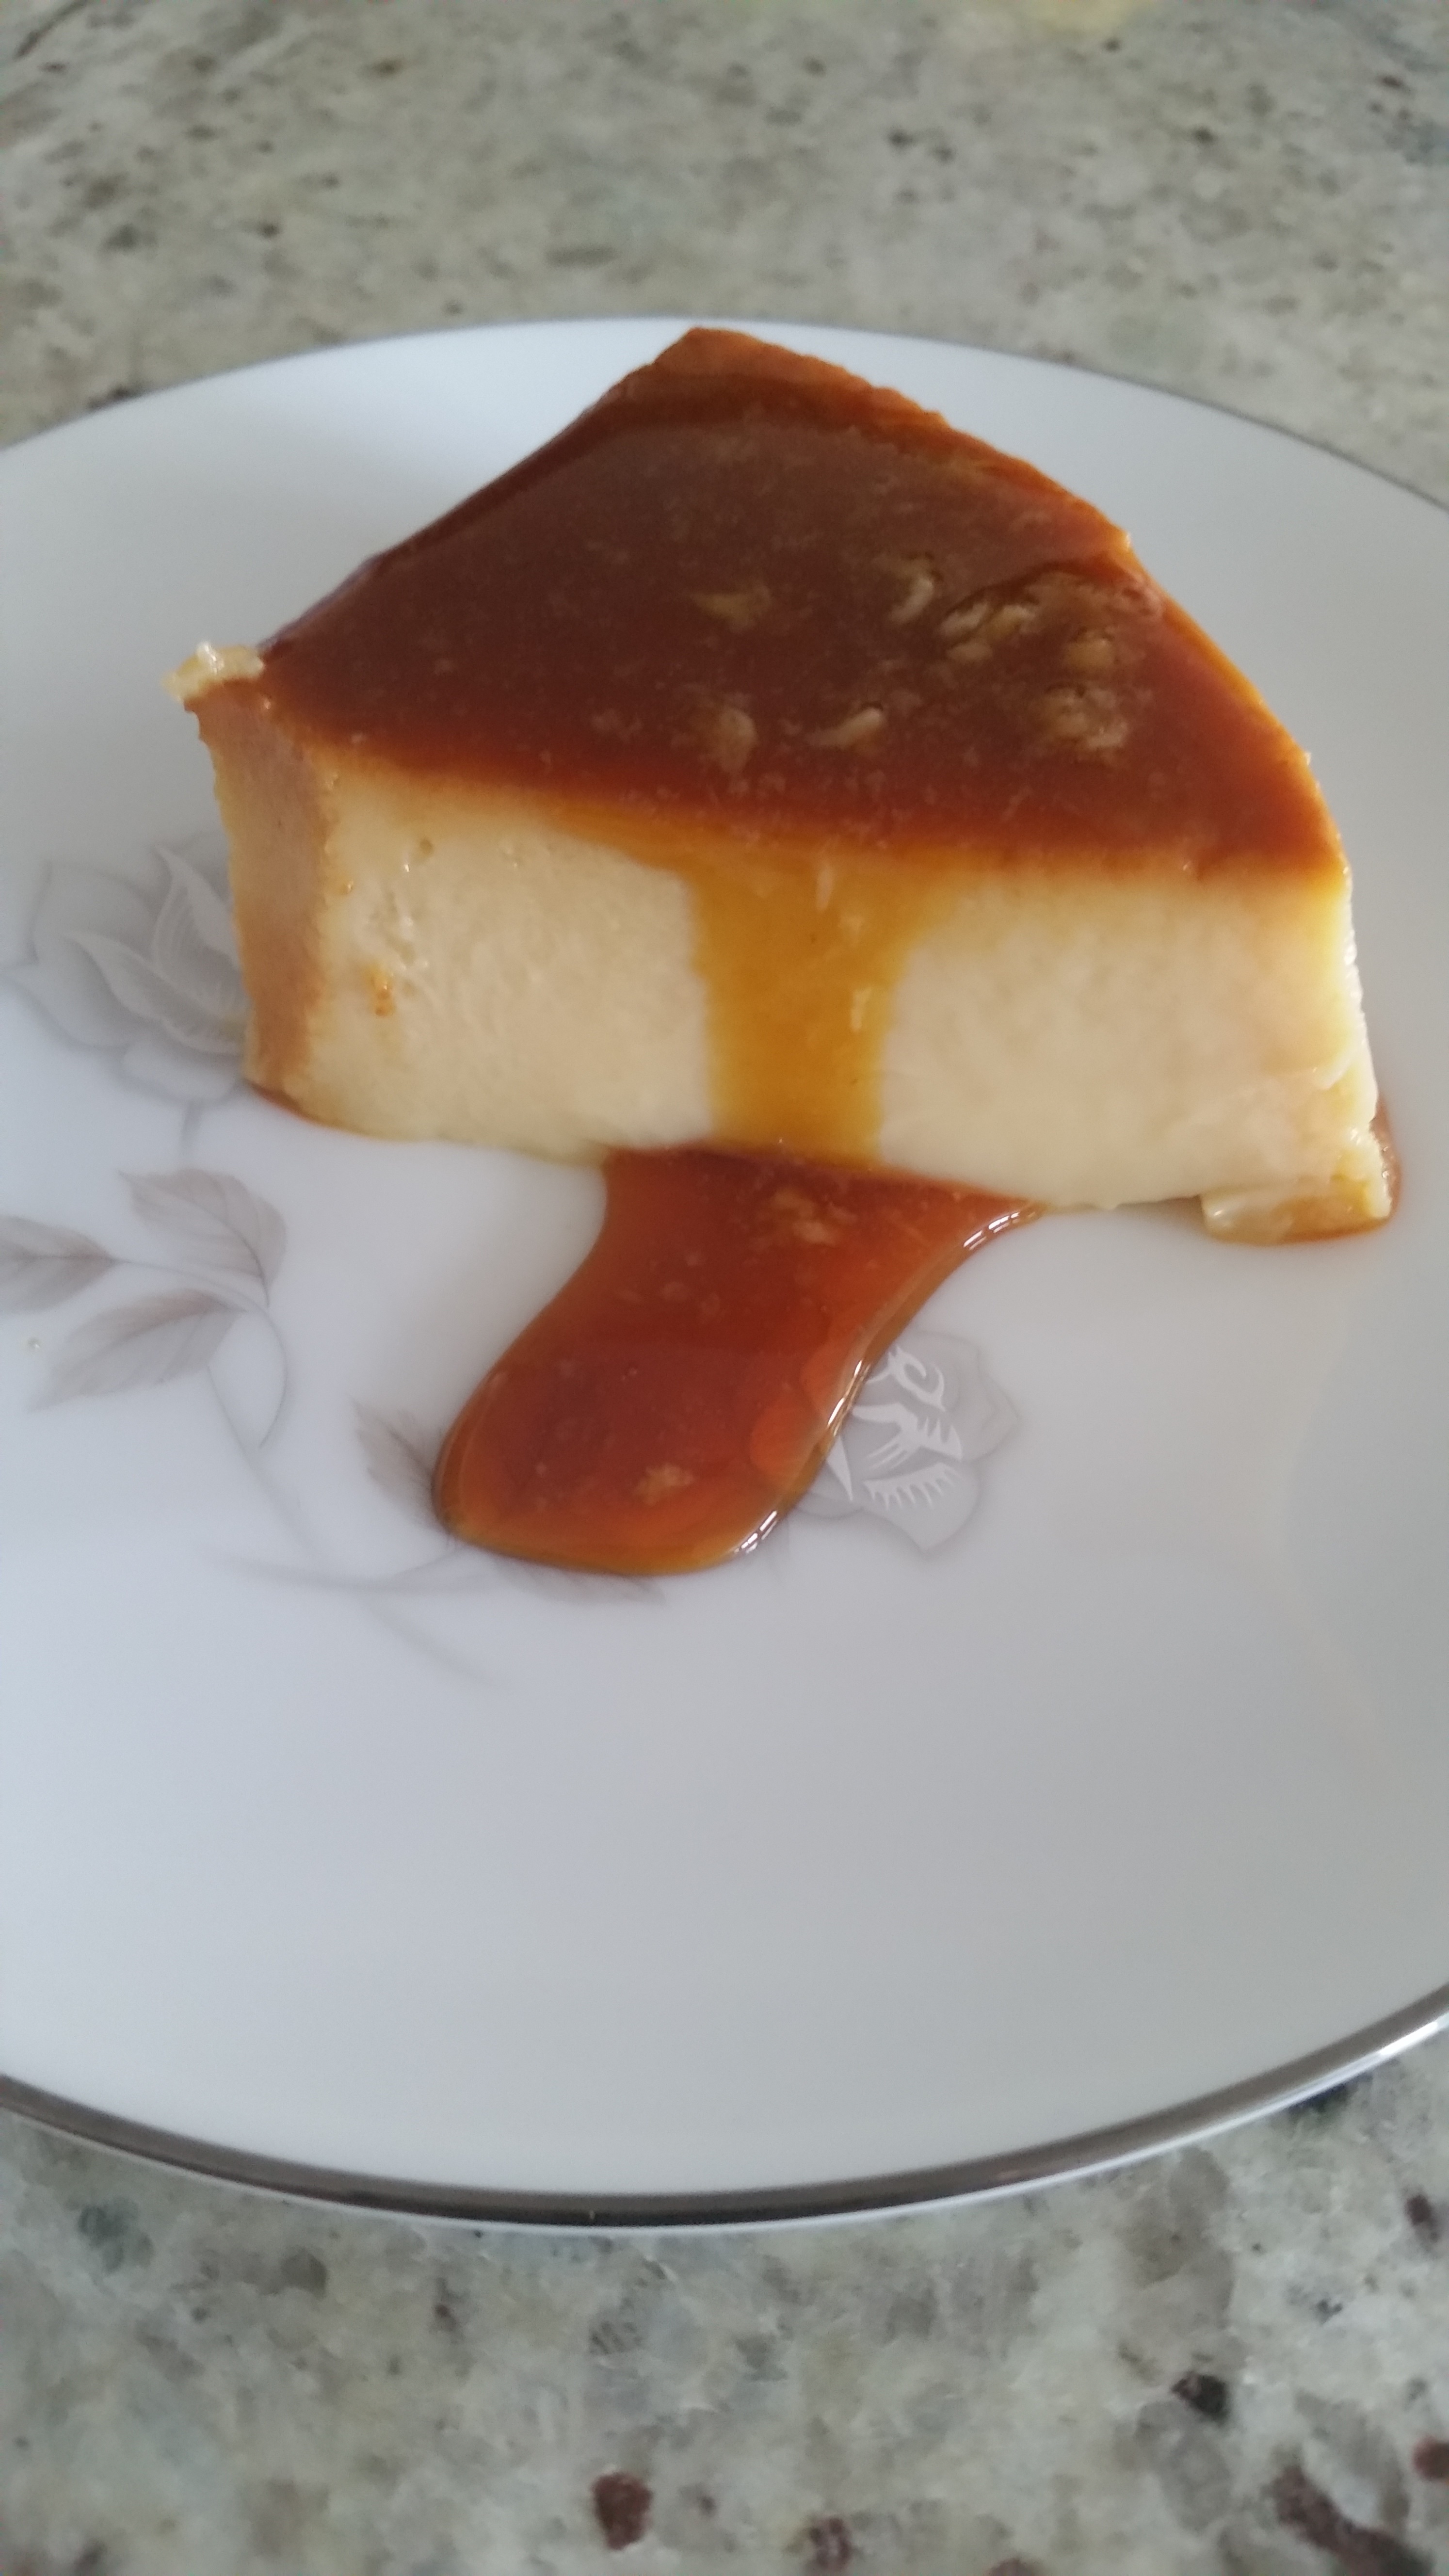
As it is with many Brazilian desserts, everyone has their favorite twists on the same basic recipe. Pudim is one of those. There are some that are light and airy, some are dense and have a strong caramel taste, some are fruity and jello-ish. This recipe is one of those dense, no holes, solid pudim. It is very sweet, but definitely a delicious one to try. My dad is very famous in my city for his pudim. He started making pudim during the winter months when not much ice cream is sold in Brasil. For those who don’t know, my dad owns an ice cream factory in Brasil. Anyways, the pudim was a hit. I cannot share his recipe, (I am afraid of being disowned) j/k. He keeps the recipe pretty secret. This recipe is my second choice. It is just as creamy and rich as my dad’s recipe and the caramel sauce is perfect. Hope you enjoy!

Brazilian Flan
For the caramel sauce:
3 cups sugar
1/2 c water
In a sauce pan melt the sugar until it gets to a medium brown, caramel color. Add the water. Please be careful, it will splatter hot sugar, but just add the water quickly and wait a couple seconds then mix it until everything dissolves. Take off the heat and let is rest.
For the Pudim:
2 cans sweetened condensed milk
2 cups milk
1 can crème de leite (table cream)
3 eggs
1 T corn starch
Mix it all in a blender for at least 6 minutes.
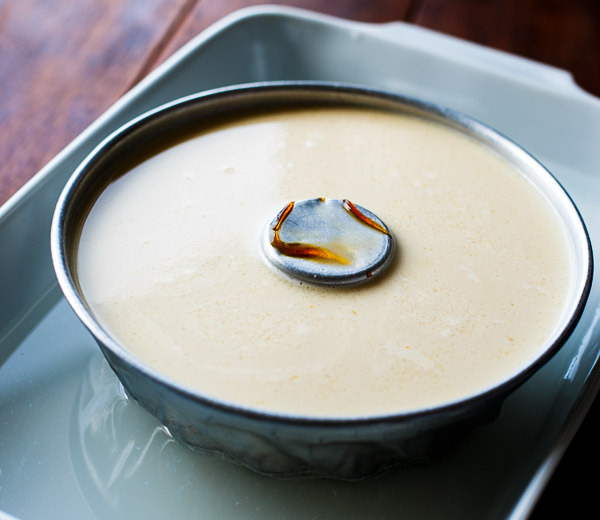
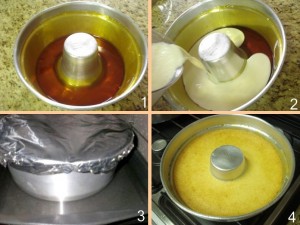
1. Spread the caramel sauce in a pudim pan.
2.Then, add the pudim liquid.
3.Cover the pan with foil. Put it in the oven (350 F) in a water bath. I use a larger pan filled with hot water, then put the pudim pan inside the water pan.

Bake for 45-60 minutes or until it browns a little on top .
4. Let it cool. I like to let it cool on the counter for a few hours and then put it in the refrigerator overnight. When you’re ready to serve it, you’ll flip it onto a large plate or platter. A little trick to flip it without breaking it, is to first go around the outside edges, as well as the center, of the pudim with a knife. Then, while still sitting on the counter, turn it back and forth (right to left) a few times prior to picking it up and flipping it.
*If you aren’t familiar with table cream, this post has a picture of it. I find it in any supermarket in the Spanish Isle.
*You can find pudim pans here.
Posted by Alessandra on Sunday Apr 19, 2015
Filed under :Brazilian Recipes, Breads
Here are 3 of my favorite Pao de Queijo recipes. The pao de queijo mineiro is my “to go” recipe. It is easy to make and it tastes delicious! Singapura is my second most favorite. I love the cream cheese or catupiry taste on it. The one with potatoes is very good as well, just requires a little bit more time to make since you have to work with the potatoes. Hope you enjoy them!
Pão de queijo Mineiro (delicious)

(green ones were for St. Patrick’s day with basil and garlic and a little bit of green food coloring )
2-3 cups of tapioca starch or flour
salt to taste
1 cup milk
1/2 cup oil
2 eggs
1 1/2 cup of finely grated cheese (I used a mix of Parmesan and cubed cheddar)
Place the 2 cups of flour with a little salt in a bowl. Set aside. Boil together the oil and milk. Add to the dry mixture (it will turn very gooey). mix it together until it turns into a gum consistency. I like to use my kitchen aid, Add one egg and half of the cheese mixture, kneed it with your hands.(of if using a mixer just mix until incorporated) It will be sticky. Add the other egg and rest of cheese. Kneed until it forms a ball.
It should have a cookie dough like texture. If it doesn’t add a little more flour. I usually end up using 2 1/2 cups of flour. (start with 2 and add an extra 1/2)

This mixture will be quite sticky. If you put a little bit of oil in your hands, it will be easier to mold the cheese bread into balls.

Bake at 350 for about 25-30 minutes.
Pão de queijo Singapura

1 cup of tapioca flour (polvilho doce)
200 grm cream cheese (or 100 cream cheese and 100 catupiry)
1 egg yolk
5 tablespoons of parmesan
Pinch of salt
Mix every thing together in a bowl. You will need to mix it with your hands. It may look like it won’t come together, but the warmth of your hands will make it come together.

This dough will be a soft, smooth consistency. When it gets to the soft consistency, make you cheese bread balls

Bake at 350 for about 20-25 minutes
Pão de queijo com batata

250 g of tapioca starch (polvilho doce)
2-3 medium potatoes (boil and smash them while still hot)
250 g of finely grated cheese (I used a mix of Parmesan and cojita cheese)
1/4 cup oil
1/4 cup milk
pinch of salt
2 medium eggs
Mix the tapioca, smashed potatoes, cheese, oil, milk and salt in a bowl with a wooden spoon. Add one egg at the time while kneading it.
This dough will turn into a soft dough almost like play dough. Just kneed it until it holds shape of a ball, then ,make your little pão de queijo balls.
Bake at 350 for about 30 minutes
All of these recipes can be made and frozen, to be cooked later. For more recipes check it here: Pão de Queijo
Posted by Alessandra on Wednesday Feb 18, 2015
Filed under :Beef, Brazilian Recipes

2 cloves Garlic
1/2 Onion (diced)
2 T Olive Oil or butter
2 lbs (or more if prefer)of Beef Tenderloin (you may use other type of meat)- cut into chunks
Salt and pepper to taste
2 (8 ounce) cans of Tomato Sauce
1/2 measure of tomato sauce can of Water
1 can Sliced Mushroom (optional)
2 T Worcestershire sauce
1 T ketchup
1 t mustard
Green Onion and parsley (to taste)
1 can Table Cream
In a sauce pan, add oil, onion and garlic. Saute until onion is translucent. Add beef chunks, salt and pepper. Let it cook. Then add tomato sauce, water, mushrooms, Worcestershire sauce, ketchup and mustard . Simmer for 20-30 minutes.

Add and green onions and parsley. Taste and adjust seasonings if necessary.
Turn off the heat and add the table cream.

Mix well and it is done!

In Brazil we serve Beef Stroganoff with rice and batata palha. (thin potato chips). If I don’t have any batata palha take some Ruffles Chips and smash it a little. Sprinkle on top 😀
Enjoy!
I have also found this at my local Smiths Grocery Store!!! These are a little thicker than the ones in Brasil.

Posted by Alessandra on Tuesday Feb 3, 2015
Filed under :Brazilian Recipes, Chicken, Main Dish
This is an easy, fast and simple dinner idea. I like it because it can be made with leftover chicken , shrimp, shredded beef from a leftover roast and etc.  Boiled shredded chicken (2 big boneless chicken thie or breast) chicken breast will be lower in fat, but you also loose a little bit of flavor and moistness. I like to boil the chicken with water and 1-2 T of chicken bouillon. You will use this water/broth latter to cook the risotto 1/4 onion diced 1 t garlic 1 T butter 1 cup arborio rice Chicken broth/water Salt Pepper Peas Sautee the onion, garlic and butter. Add rice. Sautee until rice is transparent. Season with satl and pepper. Add broth little by litte. About 1/4 cup at the time and stir until rice is cooked. Adjust seasoning and cooked chicken and peas. Serve with shaved parmesan
Posted by Alessandra on Tuesday Dec 2, 2014
Filed under :Uncategorized

Homemade caramel is delicious, soft and sweet. A nice treat for the holidays! Enjoy
1 cup butter 2 1/4 cups brown sugar , firmly packed
1/8 teaspoon salt
1 cup light corn syrup
1 (14 ounce) can sweetened condensed milk
1 teaspoon vanilla
Directions:
Melt butter; add brown sugar and salt, mixing well. Stir in corn syrup. Gradually add milk, stirring constantly. Cook and stir over medium heat until candy reaches firm ball stage (245 degrees). This will take 12-15 minutes approx. Remove from heat and stir in vanilla. Pour into greased 9×13 pan. Let cool. Cut into 48 pieces with a sharp knife.
Optional: Dip caramel squares in chocolate! YUM
Posted by Alessandra on Friday Nov 21, 2014
Filed under :Brazilian Recipes, Desserts
I know it is getting cold outside, but ice cream is always a must. My cousin shared this recipe with me this week and I wanted to share with you. It is super easy and delicious!!! Enjoy
Homemade Ice Cream (easy)

1 can sweetened Condensed Milk
1 can crème de leite (table cream)
1 pkg Jell-O (any flavor) this one was cherry
Make Jell-O according to package instructions. Usually it asks for 1 cup of hot water, dissolve the jello package, then add 1 cup of cold water. (option, you can also use juice instead of water)
After you have this mixture, put it in a blender, add crème de leite and sweetened condensed milk. Blend until it all comes together. about 2-3 minutes Pour liquid into a freezer safe container. Freeze it for 5 hours or overnight.

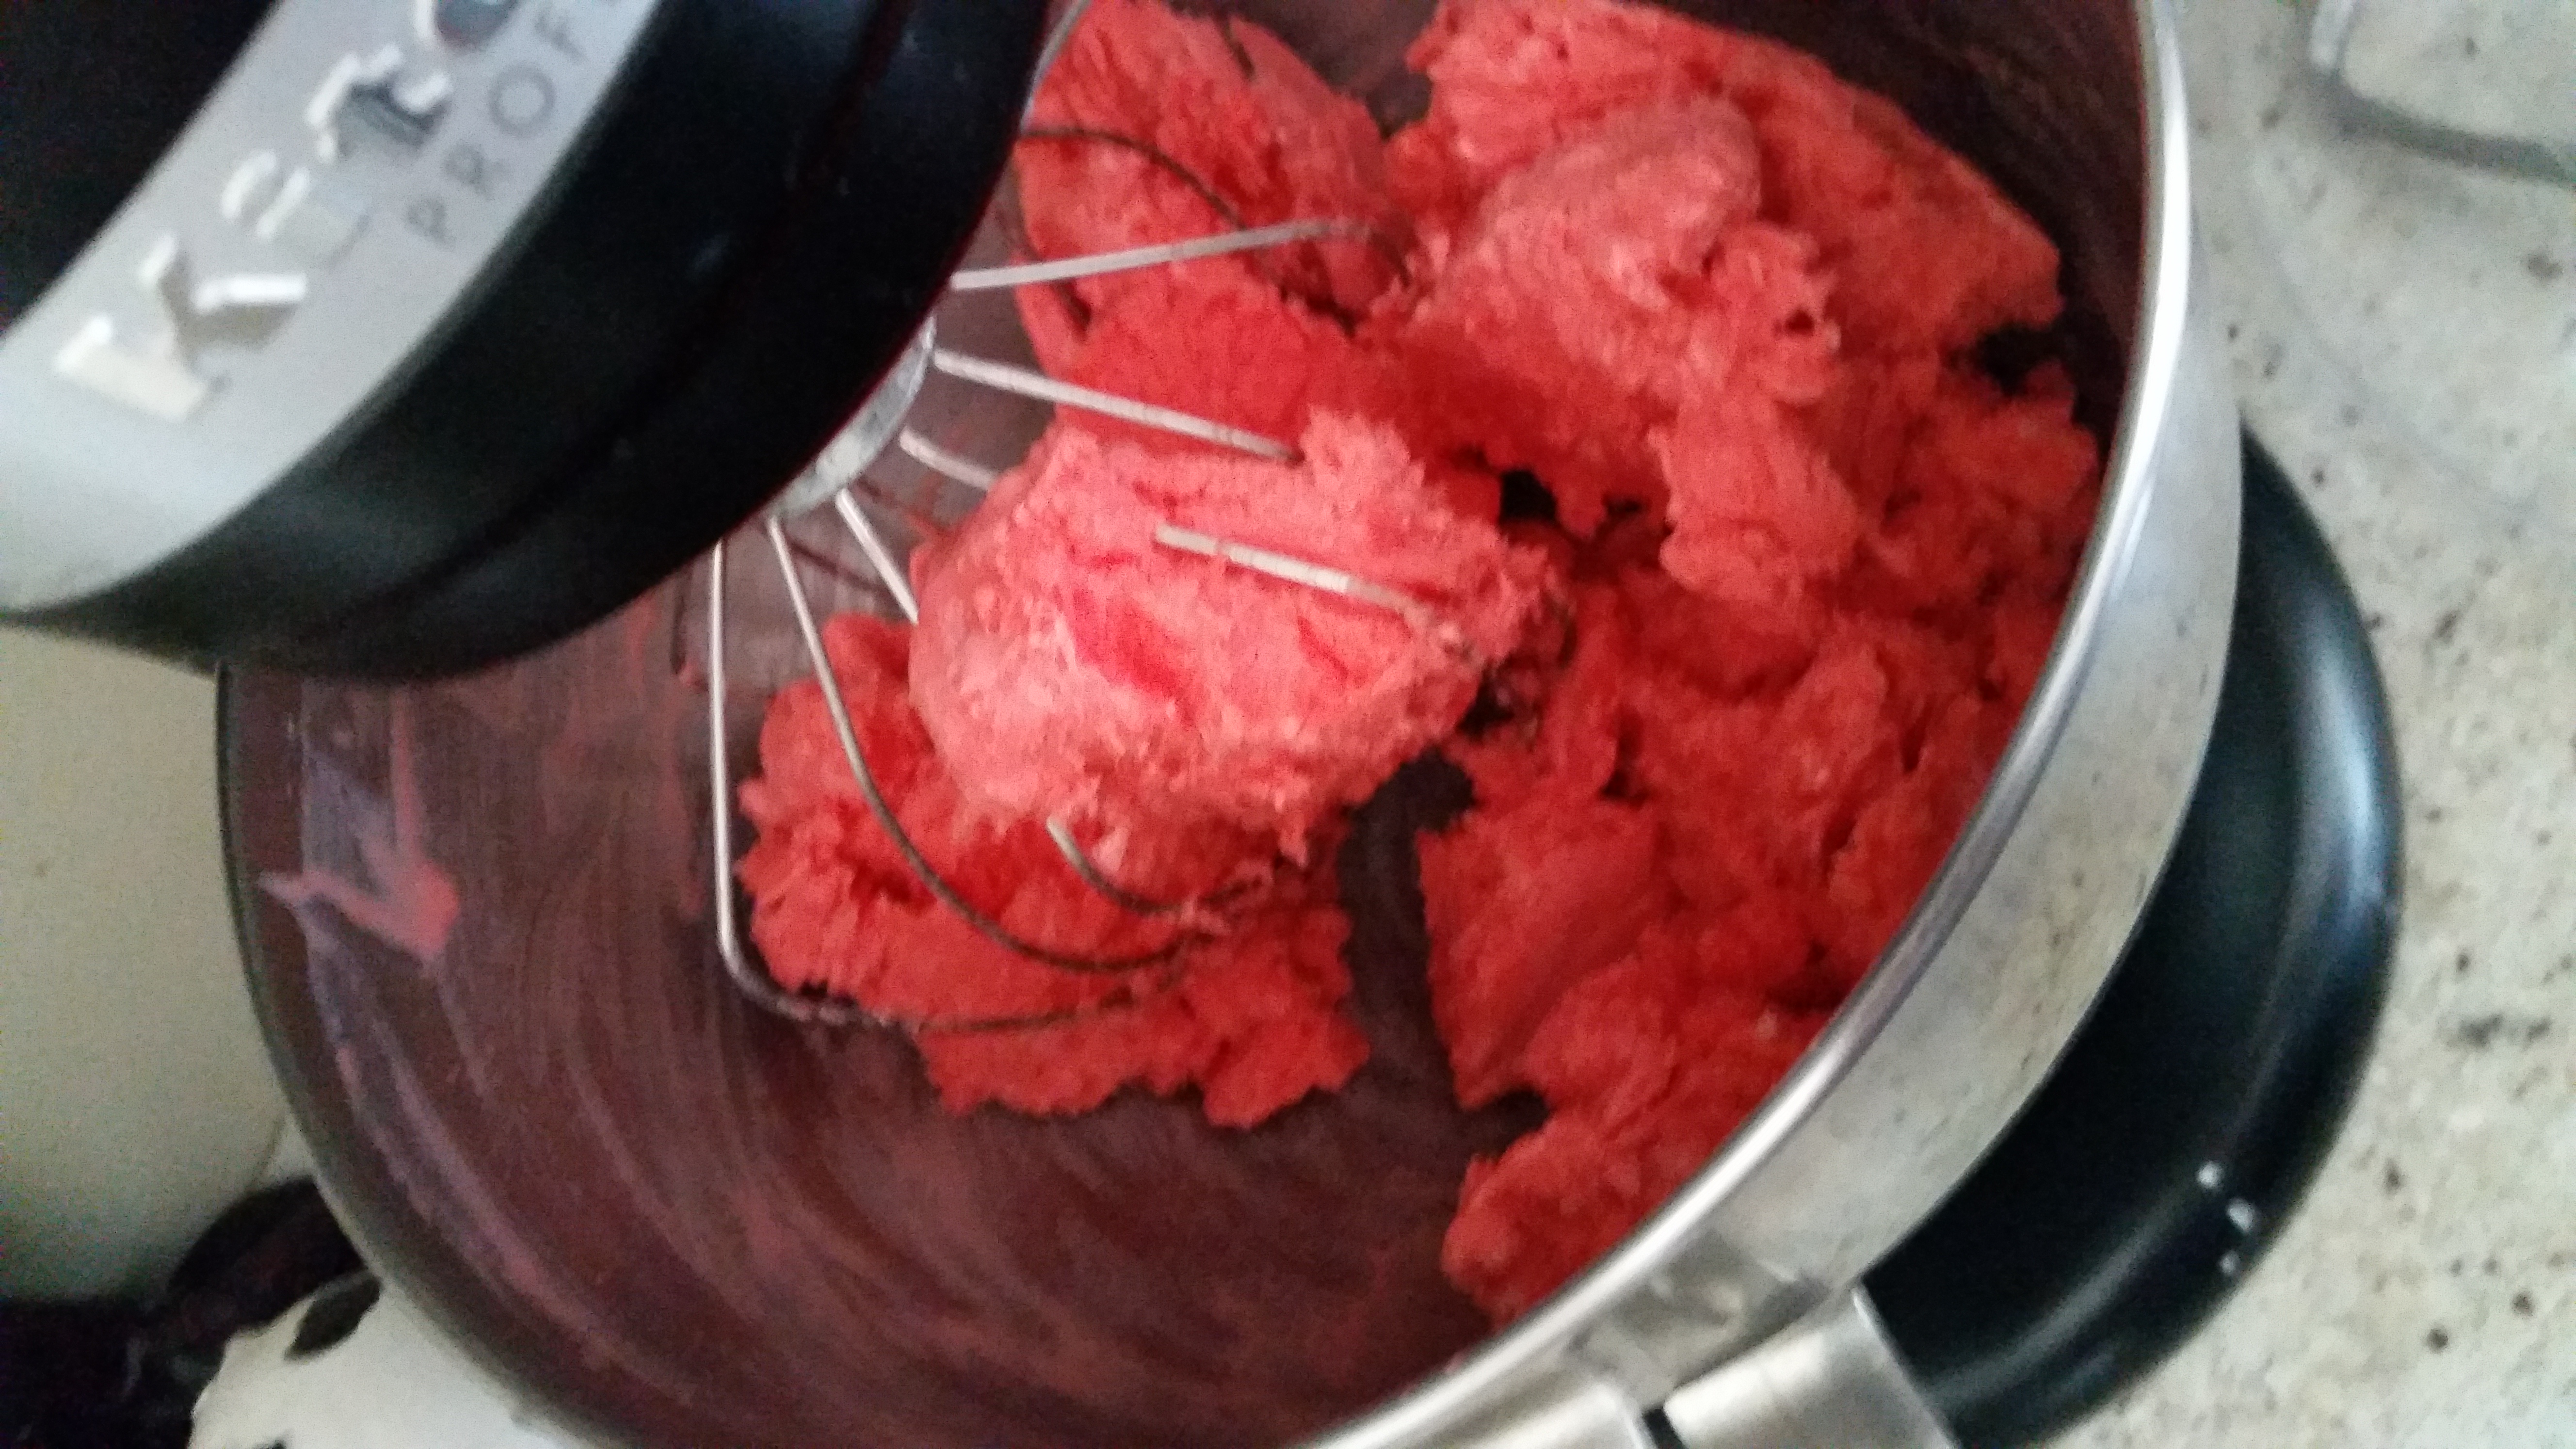
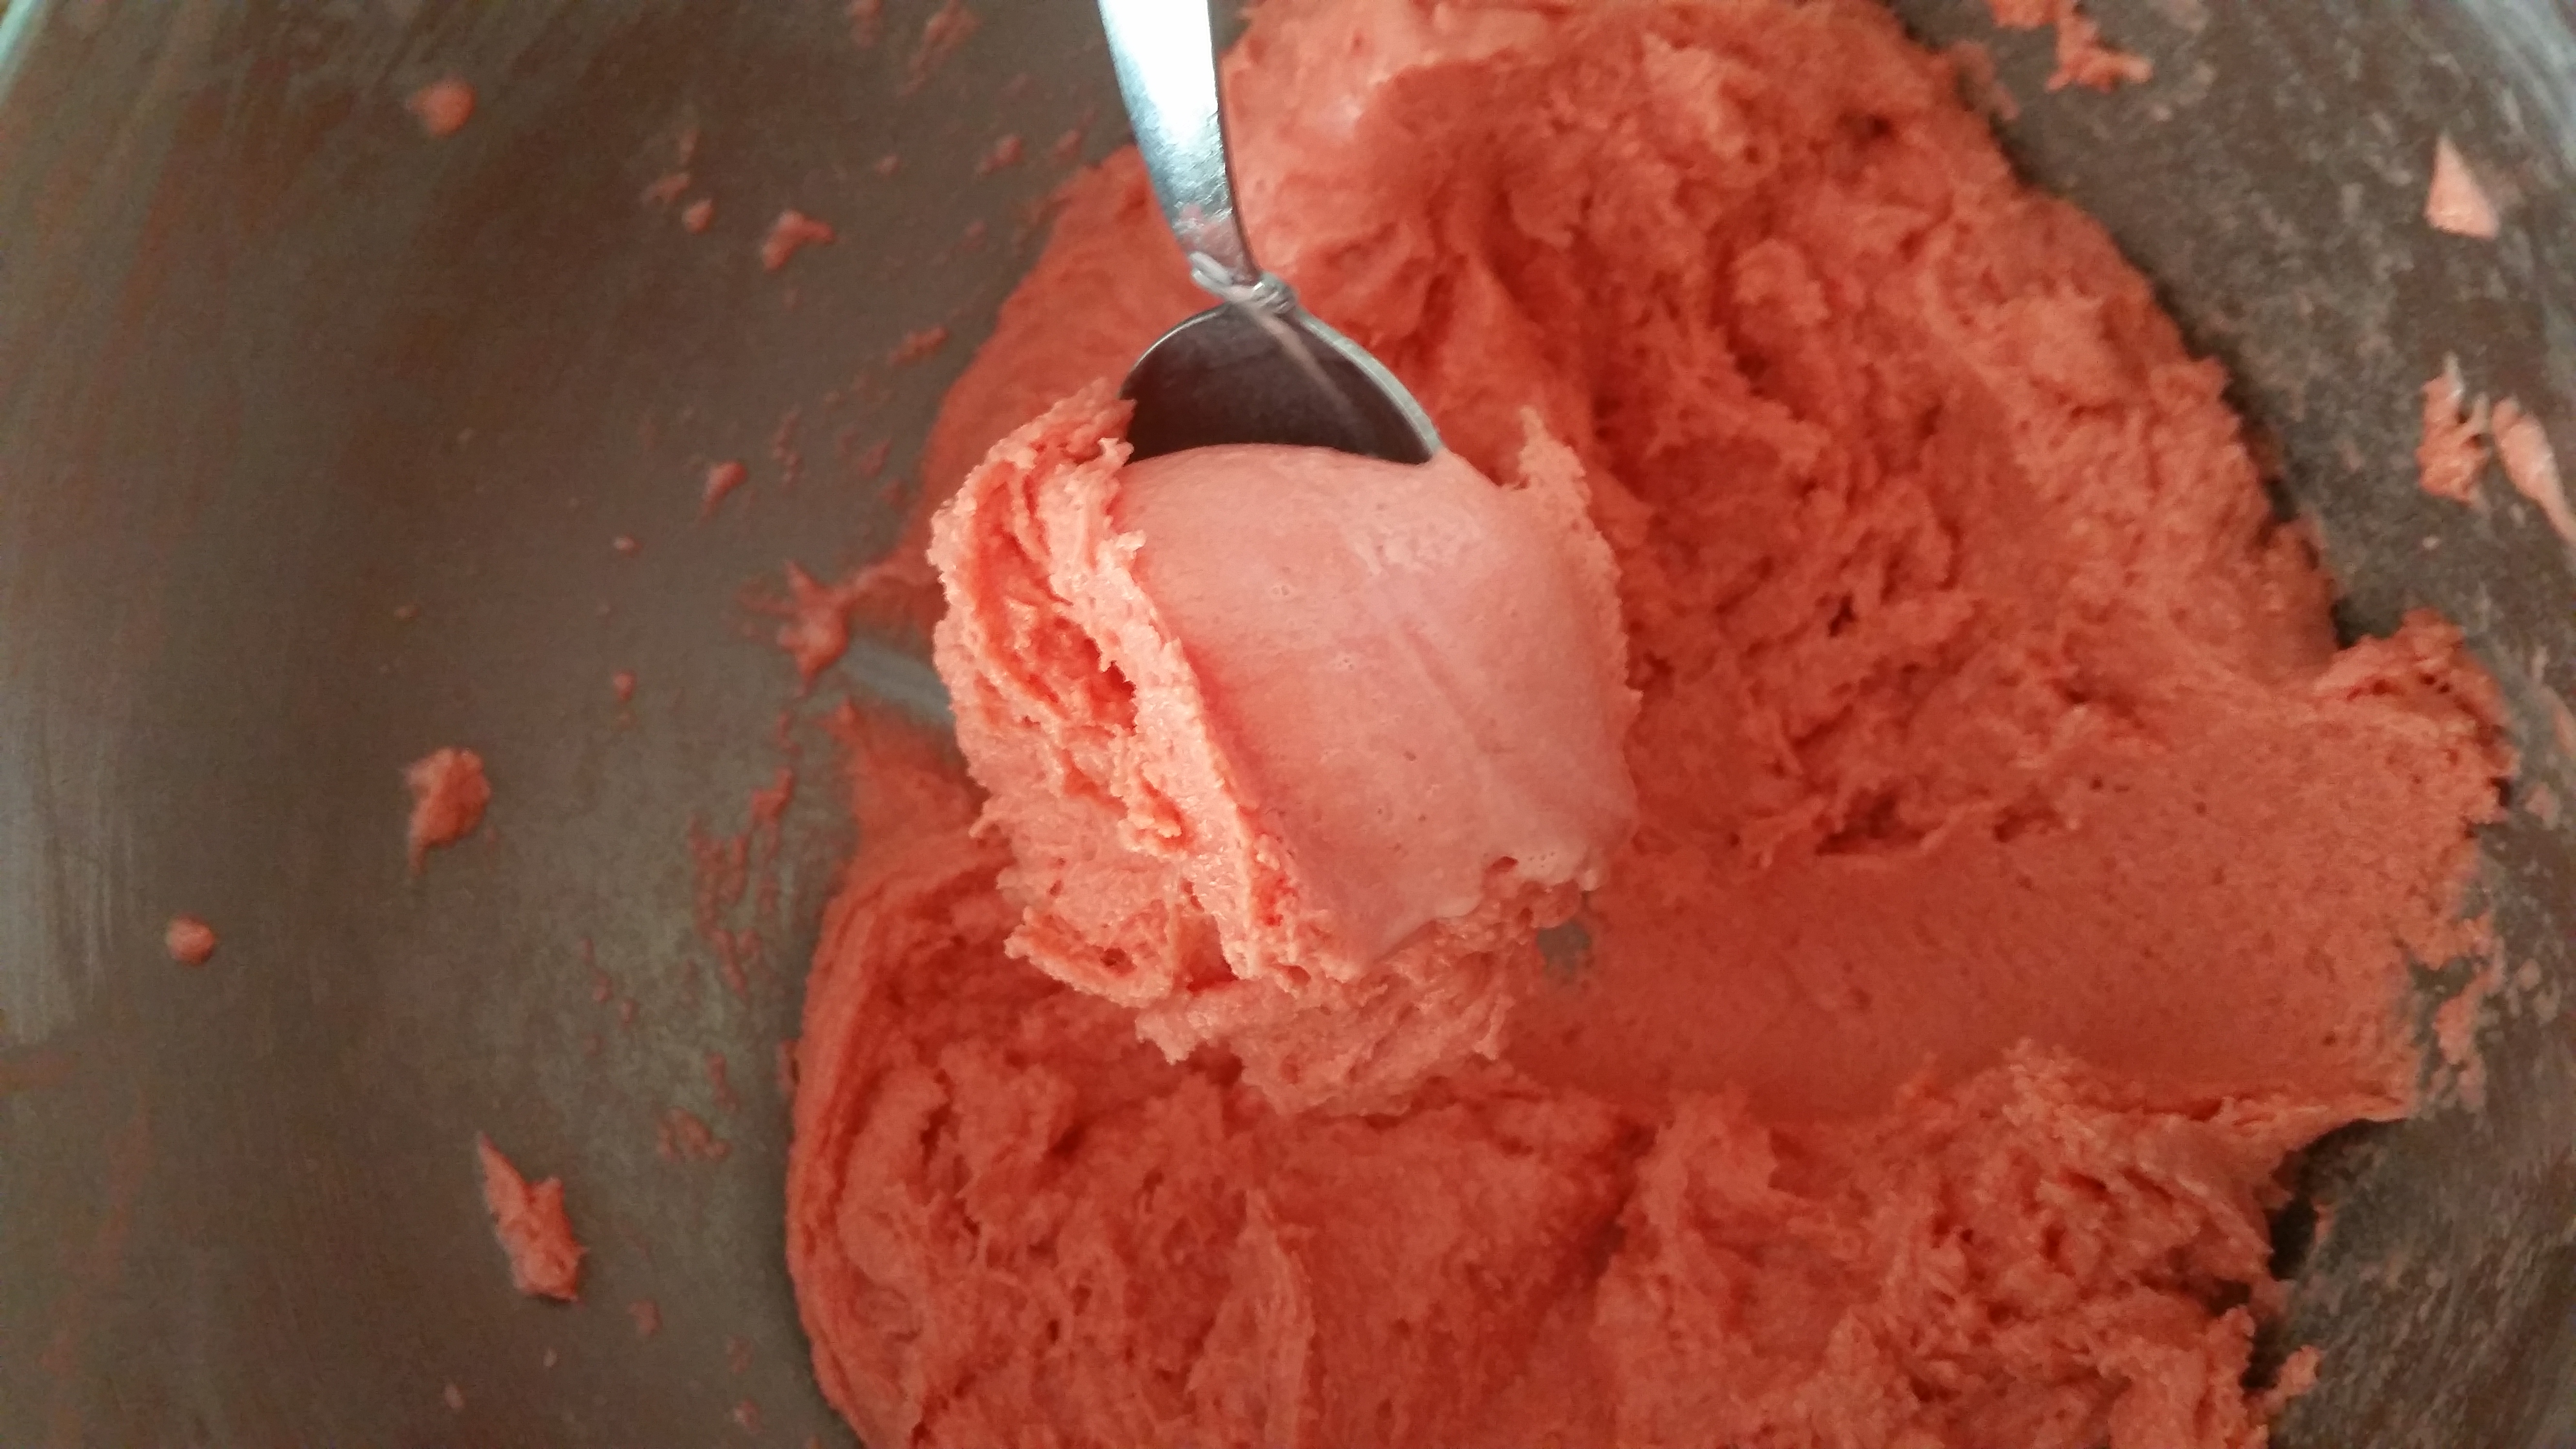
Take it out of the freezer and beat it using a mixer until nice and fluffy. I used a wire mixing attachment,but I recommend starting with a paddle attachment then once soft change to the wire.

It is super easy and you can vary the flavor using different jello flavors.